Pages

Showing posts with label purple. Show all posts

Friday, 18 April 2014

1 and 1/2 rabbit

What a busy time this Easter time is for me. I've been busy tidying up, cooking, setting up the decorations, finishing my craft projects and now I've found a spare moment to come online here and write this blog post for you. I hope you all enjoy your Easter time and spending it together with your beloved.

Today I'm going to show you what I have been creating recently :) Do you perhaps remember this cheerful book with Easter projects by Arne & Carlos I blogged sometime ago? I have knitted a few Easter eggs and the Easter balls from this book already but this year time has come to try out something else. Something out of my knitting comfort zone. Something I've been wanting to knit for a long time. So this time I have knitted my first Easter rabbit  and I think I've got hooked on it :)


I know it's not perfect. It's a prototype. It may have some sort of "knitted celullitis", flabby bottom and some lumps and bumps on his body. I've made a couple of mistakes on the way as I went along but now I know how to avoid them :) Overall the bunny isn't that hard to knit, you just need to read the instructions carefully, perhaps a few times to get the idea. However the hardest thing was to knit the heel - that extra 6-row bit that is knitted and purled and then you've got to work out on your own how to pick up and knit the vertical stitches on both sides of that bit. The book is not very helpful with the explanations on how to do it (which is a shame really) and I know from the Amazon reviews that the other knitters usually struggle with this bit too. I basically used a trial-and-error method and did my own thing which ultimately helped me to shape the bunny's heel but it wasn't exactly what the instructions said. However, looking through the other books of Arne and Carlos and searching for more explanation I have discovered that their knitted dolls book (lucky if you've got one) includes a very similar piece of instructions for knitting a doll's heel and there is a small helpful picture showing which stitches should be picked. Finally I managed to work it out and I think it is the right way to knit the bunny's heel. I'm gonna practise that with the next bunnies.
The rabbit's face was another "critical" knitting moment as the face requires the very same type of knit-and- purl bit of fabric and it needs to be knitted into bunny's face, giving it a characteristic bunny type nose. 
The second moment I struggled with was how to join two legs and knit the corpus but it turned out that you just put four dpn needles together just as you always do when you knit in rounds and simply knit two legs together with the bind-off sides facing each other and then you stitch them up. The 3rd moment I struggled with was embroidering bunny's eyes. I unpicked the stitches 3 times before I managed to get them look acceptable. I followed the instructions from the book which basically said: knit the head, fill it up with stuffing then embroider the facial features. Ha! The problem here will is: how to embroider the bunny's face without the knotting the yarn on the opposite side. Next time I'm going to stitch the eyes while the head is not fully knitted and bound off. 


Generally I'm pleased with my 1st bunny. The colors of yarns are random. I never care much for the colours I use when I make my first model. They are mostly any scraps of yarn. I'm more focused on reading and understanding the pattern. 


I stuffed the rabbit with the cotton wool. It's very light and it feels nice to hold the bunny in hand. It would make a nice teddy toy for a child.


The pompom at the bunny's butt.


My bf adopted the bunny. Now he's driving around with it on his dashboard. Sorta a campervan mascot now ... and a dust wiper :)


And in the meantime a mint green cousin rabbit is dangling half way through off my needles :) Still using an acrylic yarn but the stitches are smoother and more even. The heels look nicer too.


I stuff and sew up the bunny as I go. It is knitted in pieces which are connected with each other at some point. In the end the whole bunny is dangling off your needles.


And this is what the bunnies look like in the book:


Don't they all look fab on that shelf? :)


edit: I shared my knitted bunny on the Arne & Carlos' facebook fanpage and they liked it!!! ;) 


Sunday, 1 September 2013

(Early) Christmas Cards 2013 (5): Nordic Kids (3)

I can't believe it's already September. For me this means the end of one thing and start of the other. Back to school, back to work, back to the gymming regime, coming back home later in the darker afternoons and also less time for hobbies. In other words - back to crafting after hours. Is it me or does it really feel a bit nippy outdoor as if autumn was lurking round the corner. There is something invisible in the wind, in the air and in the fact that we start the "-ember" months that brings that longing for long sunny days and holiday time. Even now, as I'm writing this to you, I'm sat on the sofa, wrapped in blanket with hot cuppa next to me. Getting cold aready! ;)

Anyway, more Christmas cards with kiddies dressed warmly for winter  ;) This time I experimented with blues and purples. It's a bit unusual Christmas combination but sometimes I like to diverge from the traditional take. I used the same set of stamps as previously.


Some embellishing bits and bobs - die cuts, gems, stick-on snowflakes, all for the wintry frosty look :)


And how a bit of layering and texture? The card below was made using a card sketch I found ages ago on the web. I also used on this card my favourite Sizzix embossing folder the texture of which reminds a jumper :)


I really enjoyed making these :) Now back to my festive stitching. This lazy Sunday afternoon just seems so perfect for it.
Have a good Sunday evening x x

Wednesday, 29 May 2013

Back to folklore

Oh yes! I'm back to the folklore again and I will be doing it so in the future. Got a heap of gorgeous folksy scrapbooking papers, punches and stamps to work through and to show off  :) So here is my another try at this rustic countryside theme :)
This is a largely stamped card with stamps from Noolibird (the cockerel), GoScrap (folky flowers, 3 hearts) and Hero Arts and Kars stamps (the stamped frame, sorry, don't remember the name of these stamp sets. I've had them for years and got rid of the original packaging.) Blue, white and green is the colour combination I wanted to see on this card. The cockerel has been heat-embossed in a moss green embossing powder.


Purple and mint  below :) Another long narrow tent card with a decorative cockerel band (I think this is my favourite patterned paper). These great folky papers come from  a Polish scrapbooking brand - GoScrap. I also did a trick with breaking the ribbon and filling the gap with some self-adhesive gems. 


Upper and bottom stamped band - Hero Art stamp set.
"Jest pięknie!" stamp from GoScrap.

Thank you for visiting my blog. Have a lovely day. x

Tuesday, 28 May 2013

Medallion Cards

Yesterday was busy for me as far as the cardmaking is concerned. I made quite a few new cards and among them there were these three medallion cards with a sorta classic flair. The papers and the peel-off stickers come from my old card making set by Papermania. I've had it boxed and stashed away for months somewhere between the boxes with stamps and sheets of scrapbooking papers and forgot about it. Time to dig it out!


Basically, these cards are way away from my usual card making style as I don't make many classic cards and I don't use the peel-off stickers so generously but sometimes a change in style is good and I like to diverge from my usual tendencies. Just for a change and for fun! :)

Saturday, 20 April 2013

Floral Cards (4)

Hi all.
Just a quick blog update. Here are some more of my recent hand-made floral cards for various occasions


Lovely sunny weekend over here in the UK - soooo pleased this winter is gone!
Hope you're having a good relaxing time.

Saturday, 6 April 2013

Floral Cards (2)

Hi all.
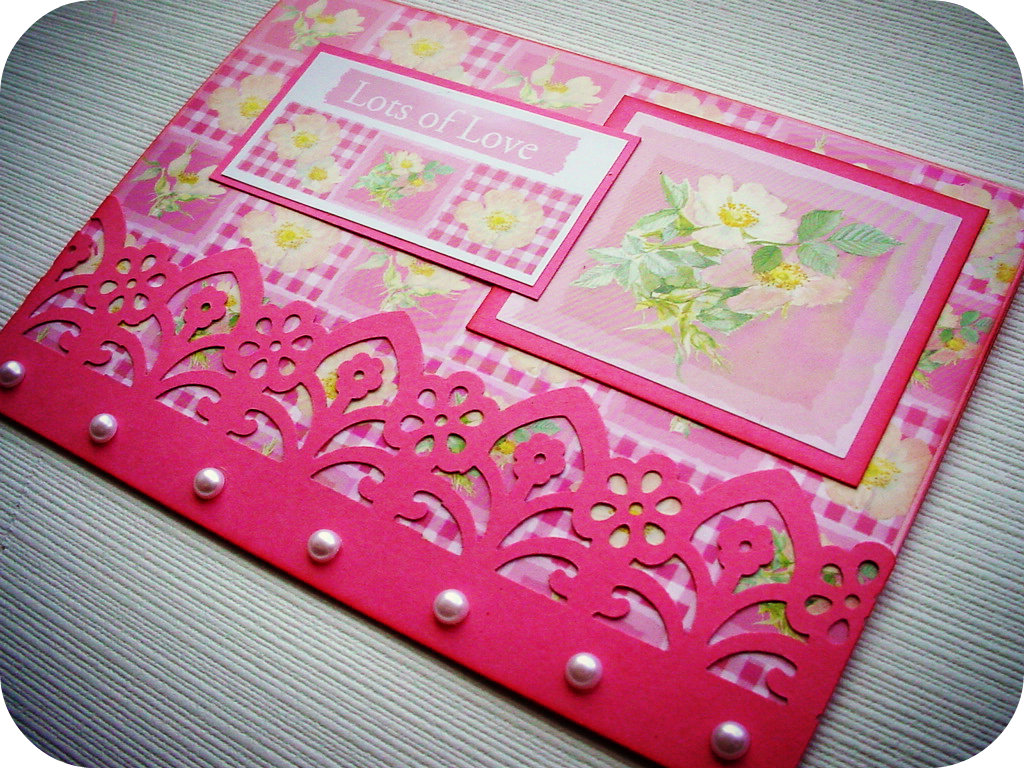
Here are some more of my floral greeting cards made using a card making pack from Let's Get Crafting Magazine. The papers, chipboards and stickers were all co-ordinated in style and colours. I really enjoyed making those cards. I had an opportunity to use some of scrapbooking toys too! :)


Daisies and poppies. This is a card of a big format - A4 size when unfolded  - good for grannies and granddads as you can write your wishes in a very huge font :))))
I really like this card - pleased how the layered card topper turned out with different textures plus the yellow, red and white colours look nice together - cheery and optimistic.


Next, the purple-blue gingham patchwork :) I used some of my extras to add to this card - the doily punch, gingham ribbon and tiny gems.


And another gingham patchwork but in a pink version :) Again, a few extra elements added to the card. I like a bit of a gem sparkle but not too much :)


More floral cards to come soon!  I currently jumped briefly to my cross stitch and been stitching motifs for 3 cute cards :)
Hope you have a good sunny weekend :)

lovely Hand-made Monday blog hop - click here!